Floral Impressions Suite Collection
This On-Line Exclusive suite is absolutely stunning – filled with soft florals, layered textures, and the magic of two-step stamping.
Whether you’re a beginner or seasoned crafter, you’re going to fall in love with the vibrant colors, dimensional dies, and the beautiful Designer Series Paper (DSP) that makes it all come together.
Let’s dive into how I created this charming layered card using products from the suite – and a few extra must-haves!
Creating the Card Base & Layers
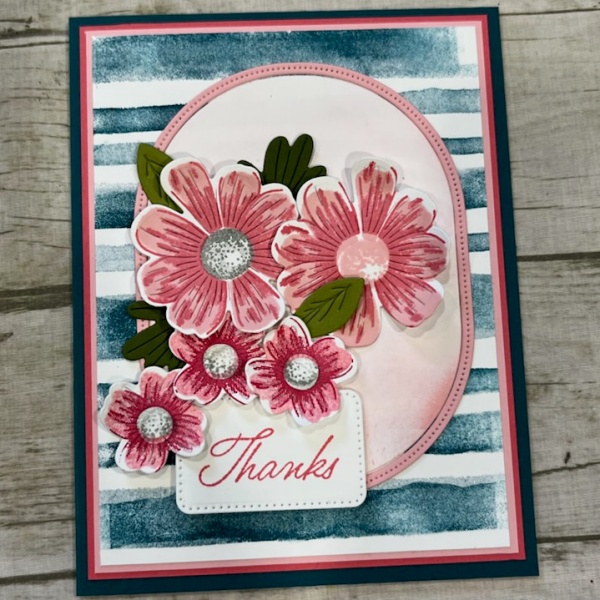
I started with a standard A2 card base:
- 8 1/2″ x 5 1/2″ in Pretty Peacock, scored at 4 1/4″
Then, I built three lovely layers for the front of the card:
- First layer – 5 1/4″ x 4″ in Strawberry Slush, adhered with liquid glue
- Second Layer – 5 1/8″ x 3 7/8″ in Pretty in Pink, also adhered with liquid glue.
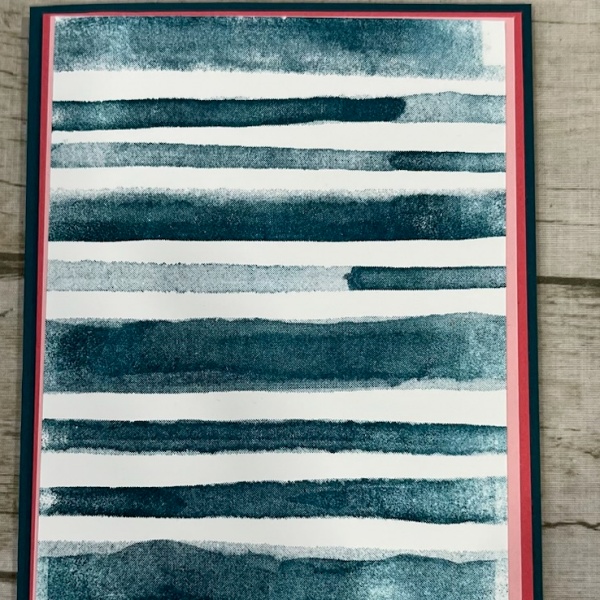
- Top Layer – 5″ x 4 3/4″ in Basic White, Stamped using the Painted Stripes Cling Stamp set, which is another On-Line Exclusive.
These layers create a soft, colorful foundation for the florals and sentiment to shine.
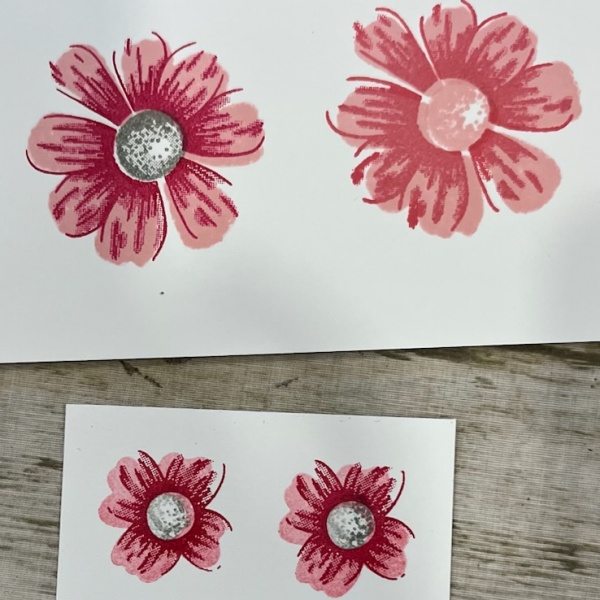
Two-Step Stamping with Impressions Abloom
This set features two-step stamping, which gives your flowers beautiful depth and detail.
Here’s how I did it:
- Stamp the detailed flower image first using a darker ink (I used Melon Mambo or Strawberry Slush).
- Let the ink dry briefly, then stamp the solid flower image over the top in a lighter shade (Pretty in Pink).
- Finally, add the flower centers using another coordinating color.
Don’t forget to stamp both Large and small flowers so you have variety in your arrangement!
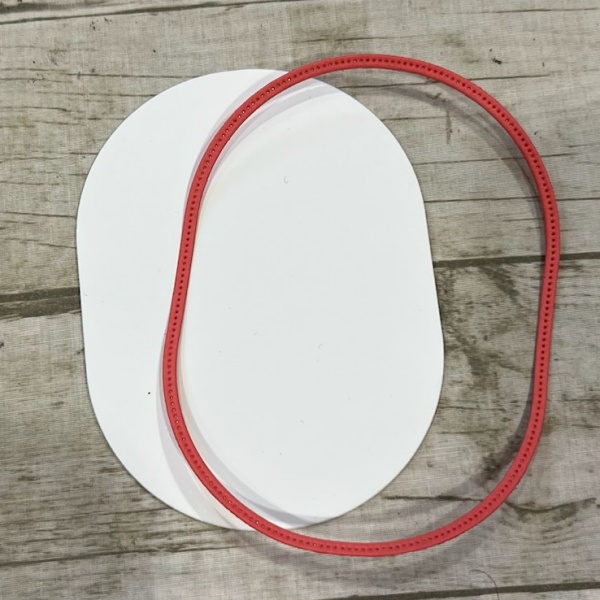
Die Cutting and Adding Dimension
Using the Impressions Abloom Dies, I cut out:
- Flowers
- Leaves
- A stitched Pretty In Pink oval
- A white center oval
I used a Blender Brush to lightly sponge Pretty In Pink ink onto the White oval, giving it a soft, shaded look. For the sentiment, I turned to the Nested Essentials Dies – a go-to for clean and simple greetings.
Final Assembly
Now it’s time to bring it all together:
- Adhere the Pretty In Pink stitched oval to the card center using liquid glue.
- Layer the White Oval on top.
- Use Stampin’ Dimensionals to add the flowers and sentiment for dimension.
- Attach the leaves with liquid glue.
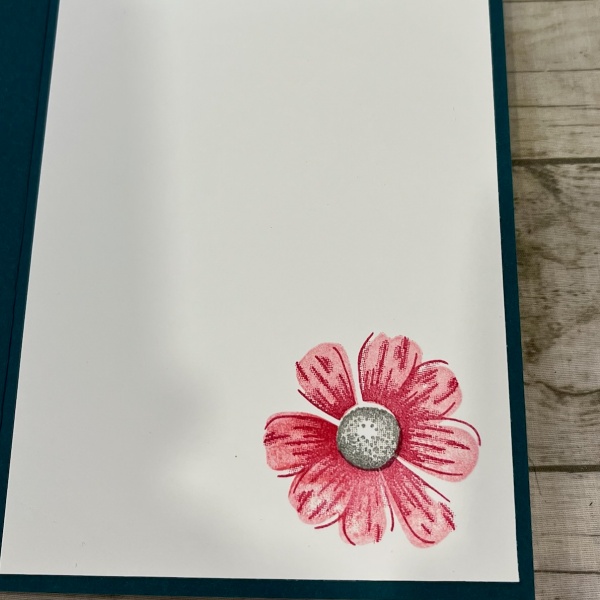
- Stamp a large flower on the inside Basic White panel to coordinate with the front, then adhere it with glue.
Finish it all off with a touch of sparkle using the Strawberry Slush & Pretty In Pink Gems!
Envelope Love
Since I didn’t use the DSP on the card itself, I added a stamped flower to the envelope to tie everything together. It’s the perfect finishing touch!