Textured Notes and Elements of Text
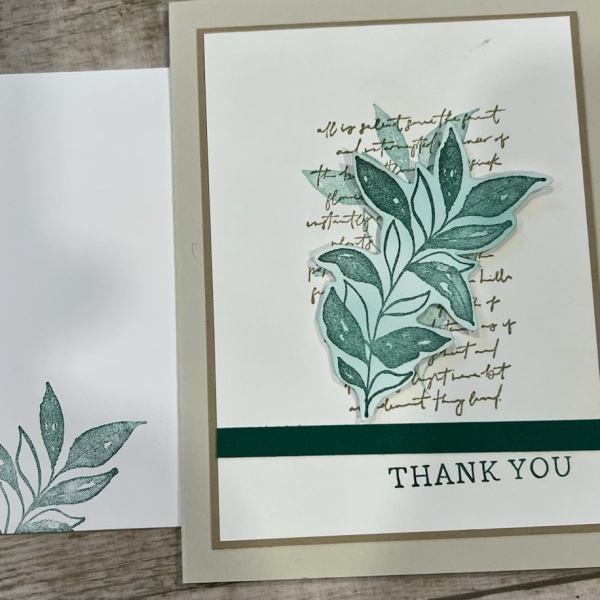
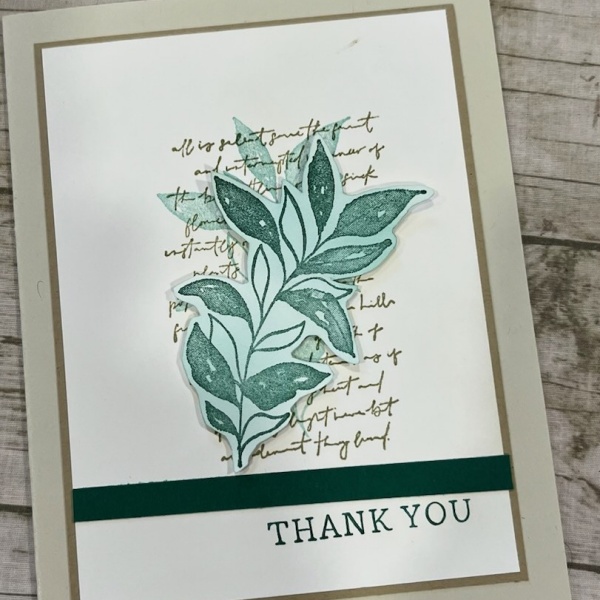
Looking for a masculine thank you card design? This project uses Stampin’ Up!’s Textured Notes and Elements of Text stamp set to create a vintage, layered card with depth and texture – perfect for a heartfelt expression of gratitude.
Supplies Needed:
- Stamp Sets:
- Textured Notes
- Elements of Texted
- Simply Said
- Cardstock:
- Basic Beige (8 1/2″ x 5 1/2″, scored at 4 1/4″)
- Crumb Cake (3 5/8″ x 4 7/8″ and 5 1/4″x 4″)
- Basic White (3 1/2″ x 4 3/4″ and 5″ x 4 4/3″, plus a scrap for fussy cutting)
- Shaded Spruce strip (3 1/2″ x 1/4″)
- Inks:
- Classic Stampin’ Pad in Crumb Cake
- Classic Stampin’ Pad in Shaded Spruce
- Tools & Adhesives:
- Blending Brush
- Paper Snips (for fussy cutting)
- Multipurpose Liquid Glue
- Stamp Blocks
- Bone Folder
- Dimensionals
- Paper Trimmer
Instructions:
Card Front:
- Prepare Your Card Base:
- Start with an 8 1/2″ x 5 1/2″ Basic Beige card base. Score a 4 1/4″ and fold to create your standard A2 card.
- Stamp Background Layer:
- Take the 3 1/2″ x 4 3/4″ piece of Basic White cardstock.
- Stamp a background using Elements of Text in Crumb Cake.
- Use a blending brush to softly blend more Crumb Cake ink over the stamped area for a vintage, textured look
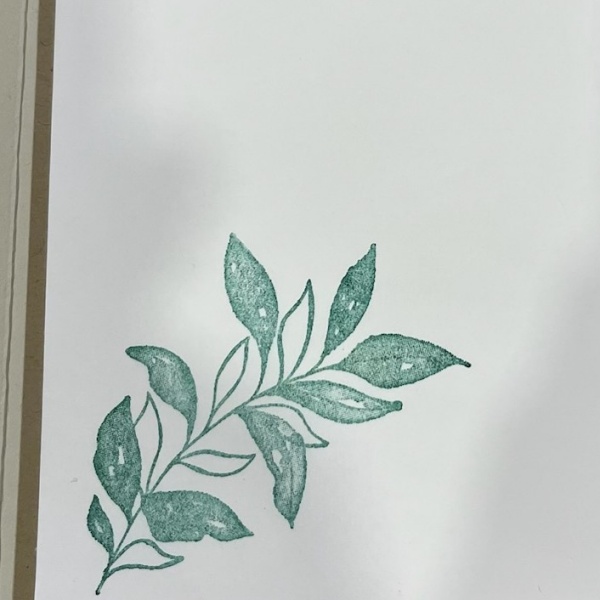
- Add Leaf Detail:
- Ink the leaf stamp from Textured Notes in Shaded Spruce, stamp off once, then stamp over the background to create a subtle overlay.
- On a separate scrap of Basic White, stamp the same leaf in full-strength Shaded Spruce and fussy cut it.
- Adhere the cut leaf to the stamped panel with Dimensionals.
- Layer the Panels:
- Adhere the stamped Basic White panel to the 3 5/8″ x 4 7/8″ Crumb Cake piece.
- Glue this layered piece onto your Basic Beige card base.
- Add the Shaded Spruce cardstock strip to the bottom (or desired spot) of the Basic White panel.
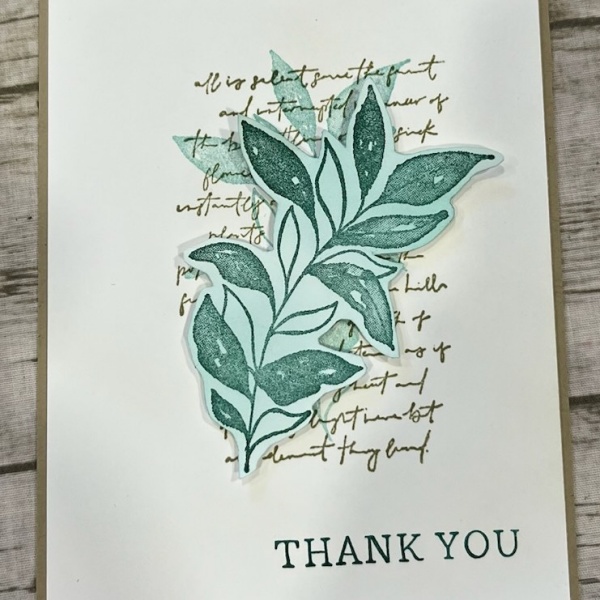
- Sentiment:
- Stamp your thank you sentiment in Shaded Spruce onto the front, directly on the Basic White panel or on a separate piece if you prefer dimension.
Inside the Card:
- Create the Inner Layers:
- Blend Crumb Cake ink over the 5″ x 3 3/4″ Basic White panel using a blending brush.
- Stamp the leaf from Textured Notes in Shaded Spruce.
- Adhere the Basic White panel to the 5 1/4″ x 4″ Crumb Cake layer, then glue both to the inside of the card.
Don’t Forget the Envelope:
Stamp the leaf from Textured Notes in Shaded Spruce on the envelope corner for a coordinated, finished look.